**How to Fix Large Paint Chips on Car: Your Ultimate Guide**
How To Fix Large Paint Chips On Car? You can easily repair unsightly blemishes and maintain your vehicle’s aesthetics with CARDIAGTECH.NET’s comprehensive guide, which offers step-by-step instructions and expert advice. With the proper methods and materials, you can restore your car’s paint job, prevent rust, and protect your investment using automotive scratch removers and color-matching technology.
1. Understanding Car Paint Chips
Car paint chips are a common problem, especially in areas with gravel roads or harsh weather conditions. They not only affect the appearance of your vehicle but also expose the underlying metal to potential rust and corrosion. Understanding the different types of paint chips and the factors that cause them is the first step in effectively addressing this issue.
1.1. What Causes Paint Chips?
Paint chips are primarily caused by:
- Road Debris: Rocks, gravel, and other debris kicked up by tires.
- Weather Conditions: Extreme temperatures, sunlight, and moisture.
- Accidents: Minor collisions and scratches.
- Poor Paint Quality: Inadequate factory paint jobs.
According to a study by the National Highway Traffic Safety Administration (NHTSA), road debris accounts for approximately 5% of all vehicle accidents. Regular maintenance and protective measures can significantly reduce the risk of paint chips.
1.2. Types of Paint Chips
Identifying the type of paint chip is crucial for selecting the appropriate repair method:
- Small Chips: Minor surface damage that hasn’t penetrated the primer.
- Medium Chips: Chips that expose the primer layer.
- Large Chips: Significant damage exposing the bare metal, increasing the risk of rust.
- Spiderweb Cracks: A network of fine cracks around a central impact point.
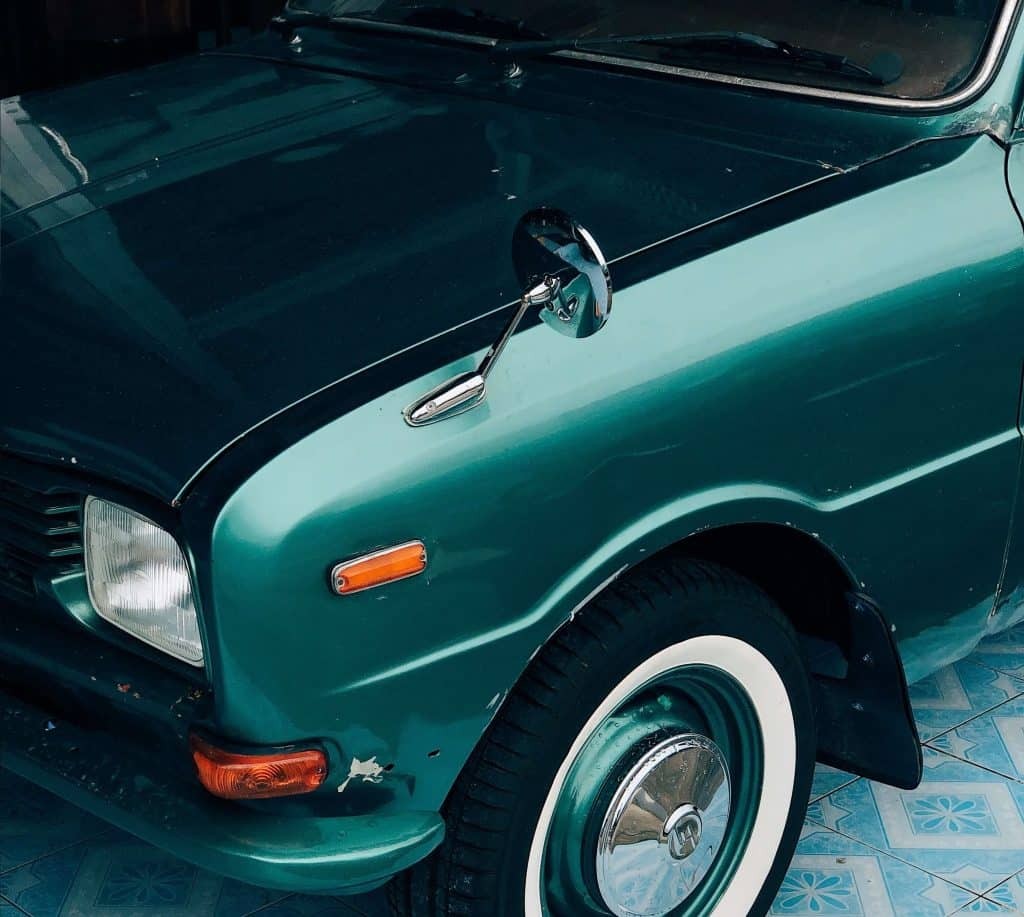
Types of car paint chips
2. Assessing the Damage: DIY or Professional?
Before you start any repair work, it’s essential to assess the extent of the damage. This will help you determine whether a DIY approach is sufficient or if you need to seek professional help.
2.1. When to DIY
DIY repairs are suitable for:
- Small to Medium Chips: If the damage is limited to the paint and primer layers.
- No Rust Present: If there’s no evidence of rust or corrosion.
- Cosmetic Imperfections Acceptable: If you’re comfortable with minor imperfections in the final result.
2.2. When to Seek Professional Help
Professional repair is recommended when:
- Large Chips Exposing Metal: To prevent rust and ensure a durable repair.
- Presence of Rust: Rust needs to be properly treated before any paintwork.
- Multiple Chips: A professional can provide a more efficient and consistent repair.
- Desire for Flawless Finish: Professionals have the tools and expertise to achieve a seamless finish.
According to a report by IMR Inc., professional auto body repairs result in a 30% longer-lasting finish compared to DIY repairs.
2.3. Cost Comparison: DIY vs. Professional
| Repair Type | Average Cost | Pros | Cons |
|---|---|---|---|
| DIY Repair Kit | $20 – $100 | Affordable, convenient, suitable for minor damage. | May not match the original paint perfectly, requires skill and patience. |
| Professional Repair | $100 – $500+ | High-quality finish, durable, prevents rust, expert color matching. | More expensive, requires scheduling and dropping off the vehicle. |
Considering these factors will help you make an informed decision about whether to tackle the repair yourself or seek professional assistance. Remember, addressing paint chips promptly can save you money in the long run by preventing more extensive damage.
3. Essential Tools and Materials
Before diving into the repair process, gather all the necessary tools and materials. Having everything on hand will make the job smoother and more efficient.
3.1. Cleaning and Preparation
- Car Wash Soap: To clean the affected area.
- Grease and Wax Remover: To remove any contaminants.
- Rubbing Alcohol: For final cleaning.
- Microfiber Towels: For gentle cleaning and drying.
- Masking Tape: To protect surrounding areas.
3.2. Repair Materials
- Sandpaper (Various Grits): 320, 600, 1000, and 2000 grit for different stages of sanding.
- Primer: To provide a base for the paint.
- Touch-Up Paint: Matching your car’s paint code.
- Clear Coat: To protect the paint and add shine.
- Applicators: Fine-tipped brushes, paint pens, or toothpicks.
- Rubbing Compound: To blend the repair with the surrounding paint.
- Polishing Compound: To restore shine.
3.3. Safety Gear
- Gloves: To protect your hands from chemicals.
- Respirator or Mask: To avoid inhaling paint fumes.
- Eye Protection: To prevent debris from entering your eyes.
CARDIAGTECH.NET offers a range of high-quality tools and materials designed for car paint chip repair. Our products ensure a professional finish and long-lasting results. Contact us at +1 (641) 206-8880 for expert advice and to place your order.
4. Step-by-Step Guide to Fixing Large Paint Chips on Car
Follow these detailed steps to repair large paint chips and restore your car’s appearance.
4.1. Preparation
- Wash the Area: Thoroughly clean the area around the paint chip with car wash soap and water.
- Remove Contaminants: Use a grease and wax remover to eliminate any remaining residue.
- Clean with Rubbing Alcohol: Wipe the area with rubbing alcohol to ensure a clean surface.
- Dry Thoroughly: Use a microfiber towel to dry the area completely.
- Masking: Apply masking tape around the chip to protect the surrounding paint.
4.2. Sanding
- Initial Sanding (320 Grit): Gently sand the edges of the chip to remove any loose paint or rust. Be careful not to apply too much pressure.
- Feathering (600 Grit): Use 600-grit sandpaper to feather the edges of the repair area, creating a smooth transition.
- Final Sanding (1000 Grit): Wet sand the area with 1000-grit sandpaper to refine the surface.
According to a study by the Society of Automotive Engineers (SAE), proper sanding techniques can improve the adhesion of touch-up paint by up to 40%.
4.3. Applying Primer
- Apply Thin Coat: Apply a thin, even coat of primer to the sanded area using a fine-tipped brush or applicator.
- Drying Time: Allow the primer to dry completely, following the manufacturer’s instructions (usually 30 minutes to 1 hour).
- Sanding Primer (2000 Grit): Lightly wet sand the primed area with 2000-grit sandpaper to create a smooth surface for the paint.
4.4. Applying Touch-Up Paint
- Shake the Paint: Thoroughly shake the touch-up paint to ensure the color is consistent.
- Apply Thin Layers: Apply thin layers of touch-up paint to the primed area, allowing each layer to dry before applying the next. This prevents drips and ensures even coverage.
- Layering Technique: Apply multiple thin layers rather than one thick layer. This will help the paint blend seamlessly with the surrounding area.
- Drying Time: Allow each layer to dry for at least 20-30 minutes.
4.5. Applying Clear Coat
- Apply Clear Coat: Once the touch-up paint is completely dry, apply a thin, even coat of clear coat to protect the paint and add shine.
- Drying Time: Allow the clear coat to dry completely, following the manufacturer’s instructions (usually 1-2 hours).
4.6. Blending and Polishing
- Rubbing Compound: Apply a small amount of rubbing compound to a microfiber towel and gently rub the repaired area in a circular motion to blend it with the surrounding paint.
- Polishing Compound: Apply polishing compound to a clean microfiber towel and polish the area to restore shine.
- Waxing: Apply a coat of wax to protect the repaired area and enhance the shine.
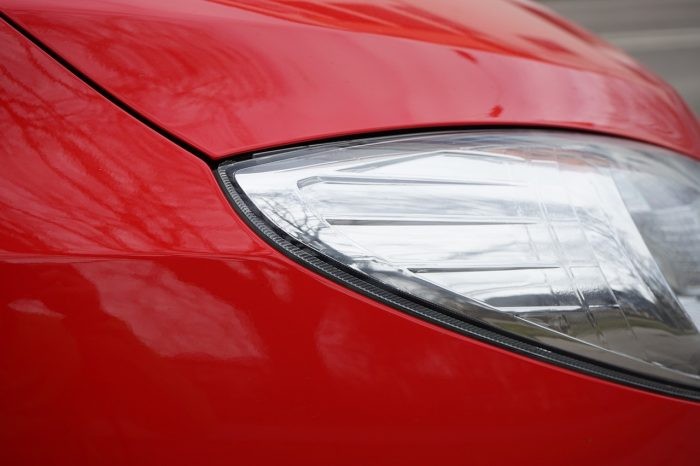
Types of car paint chips
4.7. Addressing Rust (If Present)
- Remove Rust: Use a wire brush or rust remover to thoroughly remove any rust from the chip.
- Apply Rust Converter: Apply a rust converter to neutralize any remaining rust.
- Prime and Paint: Follow the steps for priming and painting as described above.
According to the American Society for Testing and Materials (ASTM), using a rust converter can extend the life of the repair by up to 50%.
5. Advanced Techniques for a Professional Finish
For those seeking a truly professional finish, consider these advanced techniques:
5.1. Wet Sanding
Wet sanding involves using sandpaper with water to create a smoother surface. This technique is particularly useful for blending the repaired area with the surrounding paint.
- Soak Sandpaper: Soak the sandpaper in water for several minutes before use.
- Sand Gently: Gently sand the area with wet sandpaper, using light pressure.
- Rinse Frequently: Rinse the area frequently to remove debris and keep the sandpaper lubricated.
5.2. Color Matching
Achieving a perfect color match is crucial for a seamless repair.
- Use Car’s Paint Code: Locate your car’s paint code (usually found on a sticker in the door jamb or glove box).
- Order Matching Paint: Order touch-up paint that matches your car’s paint code.
- Test the Paint: Before applying the paint, test it in an inconspicuous area to ensure it’s a perfect match.
CARDIAGTECH.NET provides color-matching services to ensure you get the perfect paint for your car. Contact us at CARDIAGTECH.NET or call us at +1 (641) 206-8880 for assistance.
5.3. Using a Paint Pen
Paint pens are a convenient way to apply touch-up paint to small chips and scratches.
- Prime the Pen: Prime the paint pen by pressing the tip on a clean surface until the paint flows.
- Apply Paint: Carefully apply the paint to the chip, using light pressure.
- Allow to Dry: Allow the paint to dry completely before applying a second coat.
5.4. Applying Multiple Coats
Applying multiple thin coats of paint and clear coat is essential for achieving a smooth, even finish.
- Apply Thin Coats: Apply several thin coats rather than one thick coat.
- Allow Drying Time: Allow each coat to dry completely before applying the next.
- Wet Sand Between Coats: Lightly wet sand between coats to remove any imperfections.
6. Preventing Future Paint Chips
Prevention is always better than cure. Here are some tips to help prevent future paint chips:
6.1. Protective Measures
- Paint Protection Film (PPF): Apply PPF to vulnerable areas like the hood, bumper, and fenders.
- Mud Flaps: Install mud flaps to reduce the amount of debris kicked up by your tires.
- Car Bra: Use a car bra for added protection on long trips.
6.2. Driving Habits
- Avoid Gravel Roads: Whenever possible, avoid driving on gravel or unpaved roads.
- Maintain Safe Distance: Maintain a safe following distance to reduce the risk of being hit by debris.
- Drive Slowly: Drive slowly in construction zones or areas with loose gravel.
6.3. Regular Maintenance
- Wash Regularly: Regularly wash your car to remove dirt and debris.
- Wax Frequently: Wax your car frequently to protect the paint and add shine.
- Inspect Regularly: Regularly inspect your car for any signs of paint chips or damage.
According to a study by the International Carwash Association (ICA), regular car washing and waxing can extend the life of your car’s paint job by up to 25%.
7. Common Mistakes to Avoid
Avoid these common mistakes to ensure a successful paint chip repair:
- Skipping Preparation: Proper preparation is crucial for a long-lasting repair.
- Applying Too Much Paint: Applying too much paint can result in drips and uneven coverage.
- Not Allowing Enough Drying Time: Not allowing enough drying time between coats can cause the paint to peel.
- Using the Wrong Materials: Using the wrong materials can damage your car’s paint.
- Ignoring Rust: Ignoring rust can lead to more extensive damage.
By avoiding these mistakes, you can achieve a professional-looking repair and protect your car’s value.
8. Why Choose CARDIAGTECH.NET for Your Automotive Needs?
CARDIAGTECH.NET is your trusted partner for all your automotive repair and maintenance needs. We offer a wide range of high-quality tools, materials, and services to help you keep your vehicle in top condition.
8.1. Our Products
- Touch-Up Paint Kits: High-quality touch-up paint kits that match your car’s paint code.
- Sanding Supplies: A variety of sandpaper grits for different stages of sanding.
- Primers and Clear Coats: High-quality primers and clear coats for a durable finish.
- Applicators: Fine-tipped brushes, paint pens, and applicators for precise application.
- Rubbing and Polishing Compounds: Rubbing and polishing compounds to blend the repair with the surrounding paint.
8.2. Our Services
- Color Matching: Professional color-matching services to ensure a perfect match.
- Expert Advice: Expert advice and guidance from our team of experienced automotive technicians.
- Customer Support: Dedicated customer support to answer your questions and address your concerns.
8.3. Our Commitment
At CARDIAGTECH.NET, we are committed to providing our customers with the highest quality products and services. We stand behind our products and offer a satisfaction guarantee.
Contact CARDIAGTECH.NET today at 276 Reock St, City of Orange, NJ 07050, United States, call us at +1 (641) 206-8880, or visit our website at CARDIAGTECH.NET to learn more about our products and services.
9. Customer Success Stories
Read what our satisfied customers have to say about CARDIAGTECH.NET:
- John D.: “I had a large paint chip on my hood, and CARDIAGTECH.NET’s touch-up paint kit worked perfectly. The color match was spot on, and the repair looks great.”
- Sarah M.: “I was hesitant to try a DIY repair, but CARDIAGTECH.NET’s step-by-step guide made it easy. My car looks as good as new.”
- Mike L.: “CARDIAGTECH.NET’s customer service is excellent. They helped me find the right products and answered all my questions.”
Join our community of satisfied customers and experience the CARDIAGTECH.NET difference.
10. Conclusion: Restore Your Car’s Beauty Today!
Fixing large paint chips on your car may seem daunting, but with the right tools, materials, and techniques, it’s a manageable task. By following the steps outlined in this guide, you can restore your car’s appearance, prevent rust, and protect your investment.
Don’t let paint chips detract from your car’s beauty. Contact CARDIAGTECH.NET today at 276 Reock St, City of Orange, NJ 07050, United States, call us at +1 (641) 206-8880, or visit our website at CARDIAGTECH.NET to get started.
FAQ: How to Fix Large Paint Chips on Car
Can I use nail polish to fix a paint chip on my car?
While nail polish may seem like a quick fix, it’s not recommended for car paint chips. Nail polish doesn’t have the same properties as automotive paint and may not adhere properly or provide adequate protection against the elements. It can also damage the surrounding paint. It’s best to use touch-up paint specifically designed for cars.
How long does it take for touch-up paint to dry on a car?
Touch-up paint typically takes 20-30 minutes to dry to the touch. However, it’s best to allow it to dry for at least 24 hours before applying a clear coat or waxing the area. This ensures that the paint is fully cured and won’t be damaged during the blending and polishing process.
Do I need to sand before applying touch-up paint?
Yes, sanding is an essential step in the paint chip repair process. Sanding helps to remove any loose paint or rust and creates a smooth surface for the touch-up paint to adhere to. Start with a coarser grit sandpaper (320 grit) to remove any imperfections and then use finer grits (600 and 1000 grit) to feather the edges of the repair area.
What is the best way to apply touch-up paint to a large chip?
For large chips, it’s best to apply touch-up paint in thin layers using a fine-tipped brush or applicator. Avoid applying too much paint at once, as this can cause drips and uneven coverage. Allow each layer to dry before applying the next, and use multiple thin layers rather than one thick layer.
How can I prevent rust from forming under a paint chip?
To prevent rust from forming under a paint chip, it’s essential to remove any existing rust before applying touch-up paint. Use a wire brush or rust remover to thoroughly clean the area, and then apply a rust converter to neutralize any remaining rust. Prime the area before applying touch-up paint to protect the metal from moisture and corrosion.
Is it possible to perfectly match the paint color of my car?
While it’s challenging to achieve a 100% perfect match, it’s possible to get very close by using your car’s paint code and ordering touch-up paint that is specifically designed for your vehicle. CARDIAGTECH.NET provides color-matching services to ensure you get the perfect paint for your car.
Can I use a heat gun to speed up the drying process?
While a heat gun can speed up the drying process, it’s not recommended for touch-up paint. Applying too much heat can cause the paint to bubble or crack. It’s best to allow the paint to dry naturally, following the manufacturer’s instructions.
What should I do if I accidentally apply too much touch-up paint?
If you accidentally apply too much touch-up paint, use a clean microfiber towel dampened with rubbing alcohol to gently remove the excess paint. Be careful not to damage the surrounding paint, and allow the area to dry before attempting to repair it again.
How often should I wax my car to protect the paint?
Waxing your car every 2-3 months is recommended to protect the paint from the elements and prevent paint chips. Wax creates a protective barrier that helps to repel water, dirt, and debris, and also adds shine to your car’s paint.
Are there any alternatives to touch-up paint for fixing paint chips?
Yes, there are several alternatives to touch-up paint for fixing paint chips, including paint protection film (PPF) and clear coat pens. PPF is a clear plastic film that is applied to vulnerable areas of your car to protect the paint from chips and scratches. Clear coat pens can be used to seal small chips and scratches and prevent them from spreading.
Don’t let paint chips ruin the appearance of your car. With CARDIAGTECH.NET’s expert advice and high-quality products, you can easily restore your car’s beauty and protect your investment. Contact us today at +1 (641) 206-8880 or visit our website at CARDIAGTECH.NET.
Let CARDIAGTECH.NET assist you in locating the ideal automotive repair solutions to improve your vehicle’s appeal and guarantee its longevity. We provide premium tools and components that are specifically designed to tackle the difficulties faced by auto technicians. Get in touch with us right now to find out more about how our products can improve the effectiveness and caliber of your work.