Can You Fix A Car Scratch Yourself: A Comprehensive Guide
Can You Fix A Car Scratch Yourself? Absolutely! Minor car scratches can be unsightly, but with the right tools and techniques, you can often restore your vehicle’s appearance without professional help. CARDIAGTECH.NET offers a wide range of high-quality tools and equipment to help you tackle these imperfections efficiently. Let’s explore how to handle minor paint damage, DIY car scratch repair, and when to seek professional assistance for deeper damage. Regular car care and paint protection will keep your car looking its best.
1. Understanding Car Scratches: Types and Severity
Before diving into the repair process, it’s essential to understand the different types of car scratches and their severity. This understanding will help you determine the appropriate repair method and whether you can tackle the issue yourself or need professional assistance.
1.1. Clear Coat Scratches
These are the most superficial type of scratches, affecting only the clear coat layer of your car’s paint. They often appear as light, hairline marks and can usually be removed with basic DIY methods.
- Appearance: Fine, shallow lines on the surface.
- Depth: Affects only the clear coat.
- Repair: Easily addressed with polishing compounds or scratch repair kits.
1.2. Paint Scratches
These scratches penetrate the clear coat and reach the paint layer. They are more noticeable than clear coat scratches and require a bit more effort to repair.
- Appearance: Visible color disruption, deeper than hairline marks.
- Depth: Extends into the paint layer.
- Repair: Requires touch-up paint and possibly wet sanding.
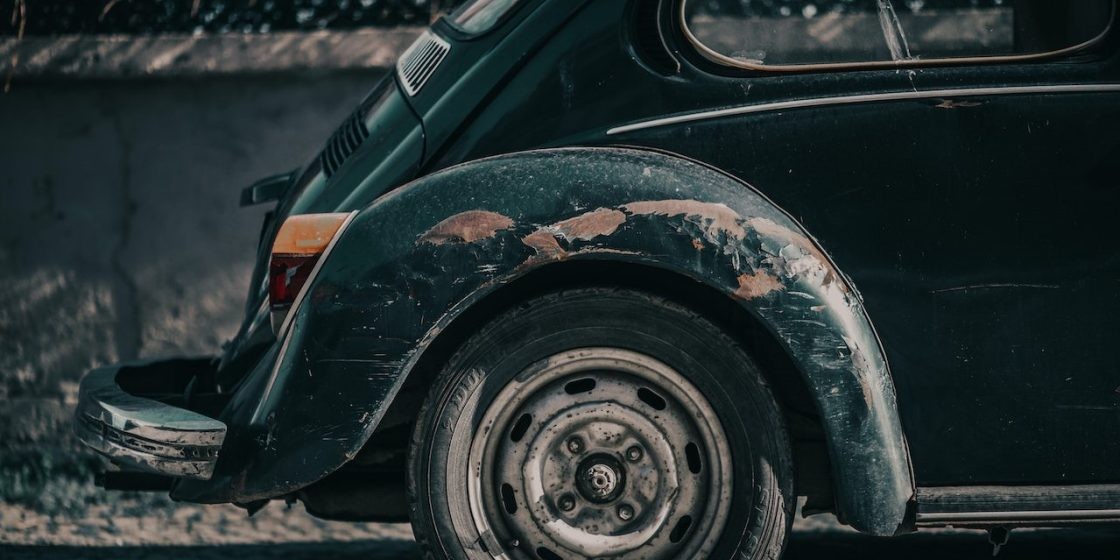
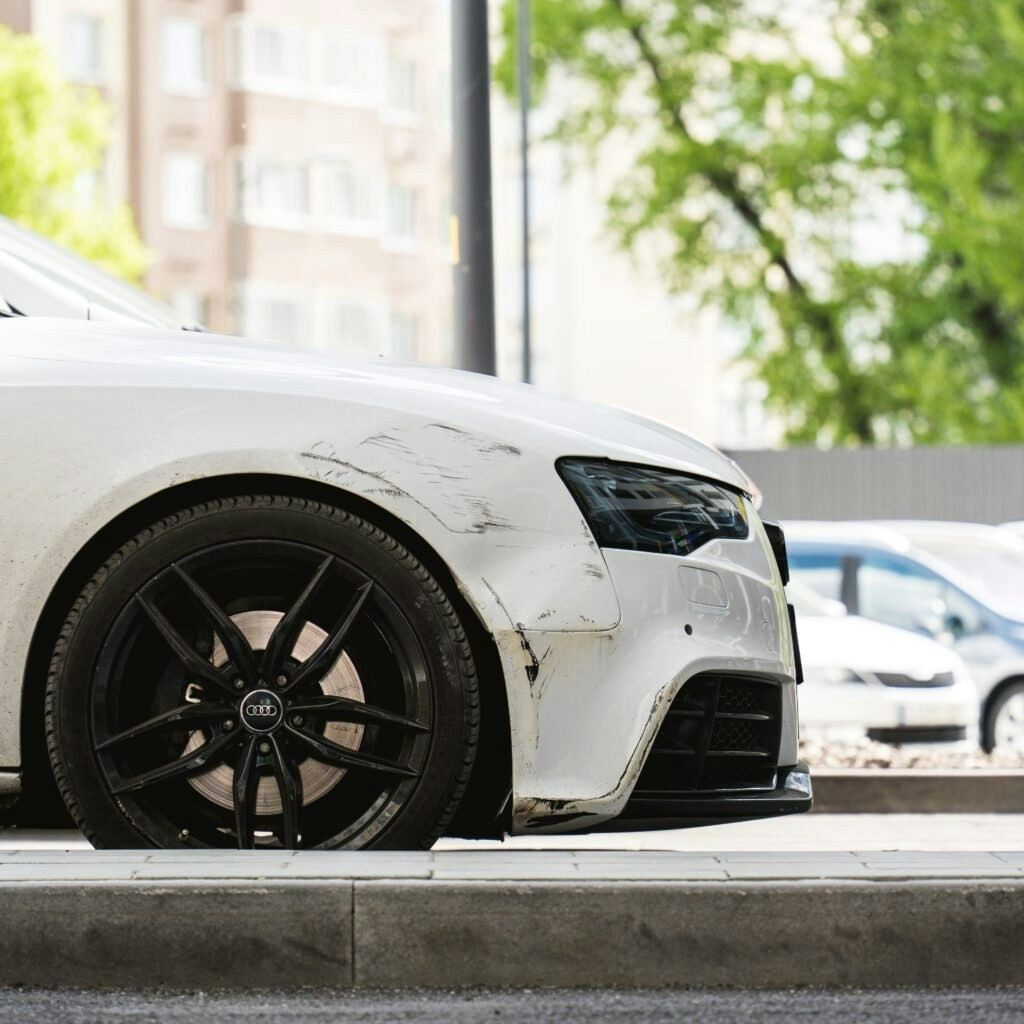
1.3. Deep Scratches
Deep scratches go through the clear coat, paint, and primer, potentially exposing the metal underneath. These are the most severe type of scratches and require careful attention to prevent rust and further damage.
- Appearance: Exposes the metal beneath the paint.
- Depth: Reaches the primer or metal layer.
- Repair: Involves thorough cleaning, rust removal, primer application, touch-up paint, and clear coat. Professional assistance is often recommended.
Understanding the type of scratch you’re dealing with is the first step in determining whether you can fix it yourself. Let’s move on to assessing the damage properly.
2. Assessing the Damage: Is It a DIY Job?
Before you start any repair work, it’s crucial to assess the damage carefully. This assessment will help you determine if the scratch is something you can handle yourself or if it requires professional attention.
2.1. The Fingernail Test
One simple way to gauge the depth of a scratch is the fingernail test. Run your fingernail lightly over the scratch.
- If your nail doesn’t catch: The scratch is likely only in the clear coat and can be easily fixed with a polishing compound.
- If your nail catches slightly: The scratch has penetrated the clear coat and may require touch-up paint.
- If your nail catches significantly: The scratch is deep and may require professional repair to prevent rust and ensure a proper finish.
2.2. Visual Inspection
Carefully examine the scratch under good lighting. Look for:
- Color: Is the original paint color still visible within the scratch?
- Metal: Can you see bare metal? This indicates a deep scratch that needs immediate attention.
- Rust: Is there any rust present? Rust needs to be removed before any repair work begins.
2.3. Consider the Location
The location of the scratch can also influence your decision to DIY or seek professional help.
- High-Visibility Areas: Scratches on the hood, doors, or roof are more noticeable and may warrant a professional repair for a seamless finish.
- Low-Visibility Areas: Scratches on the lower bumper or rocker panels are less noticeable and may be suitable for a DIY repair.
By carefully assessing the damage, you can make an informed decision about whether to tackle the repair yourself or seek professional assistance. Now, let’s look at the tools and materials you’ll need for a DIY scratch repair.
3. Gathering Your Arsenal: Tools and Materials for DIY Repair
Having the right tools and materials is essential for a successful DIY car scratch repair. CARDIAGTECH.NET offers a comprehensive selection of high-quality tools to help you achieve professional-looking results.
3.1. Essential Tools and Materials
- Cleaning Supplies:
- Car Wash Soap: To thoroughly clean the area around the scratch.
- Microfiber Cloths: Soft cloths to avoid further scratching during cleaning and polishing.
- Detailing Clay: To remove contaminants from the paint surface.
- Sandpaper:
- Fine-Grit Sandpaper (3000-5000 grit): For wet sanding to smooth out imperfections.
- Sanding Block: To ensure even pressure during sanding.
- Polishing and Buffing:
- Polishing Compound: To remove clear coat scratches and restore shine.
- Buffing Pads: Foam pads for applying and buffing the polishing compound.
- Dual-Action Polisher: Optional, but highly recommended for efficient and even polishing.
- Touch-Up Paint:
- Touch-Up Paint (Matching Your Car’s Color Code): To fill in paint scratches.
- Fine-Tip Applicator Brush: For precise application of touch-up paint.
- Clear Coat:
- Clear Coat Spray or Pen: To protect the repaired area and blend it with the surrounding paint.
- Safety Gear:
- Gloves: To protect your hands from chemicals.
- Mask: To avoid inhaling fumes from paints and compounds.
3.2. Where to Buy
You can find these tools and materials at:
- CARDIAGTECH.NET: Offers a wide range of professional-grade tools and equipment for car repair.
- Auto Parts Stores: Local stores like AutoZone or Advance Auto Parts.
- Online Retailers: Amazon, eBay, and other online retailers.
Having the right tools and materials on hand will make the repair process smoother and more effective. Now, let’s dive into the step-by-step guide for repairing car scratches.
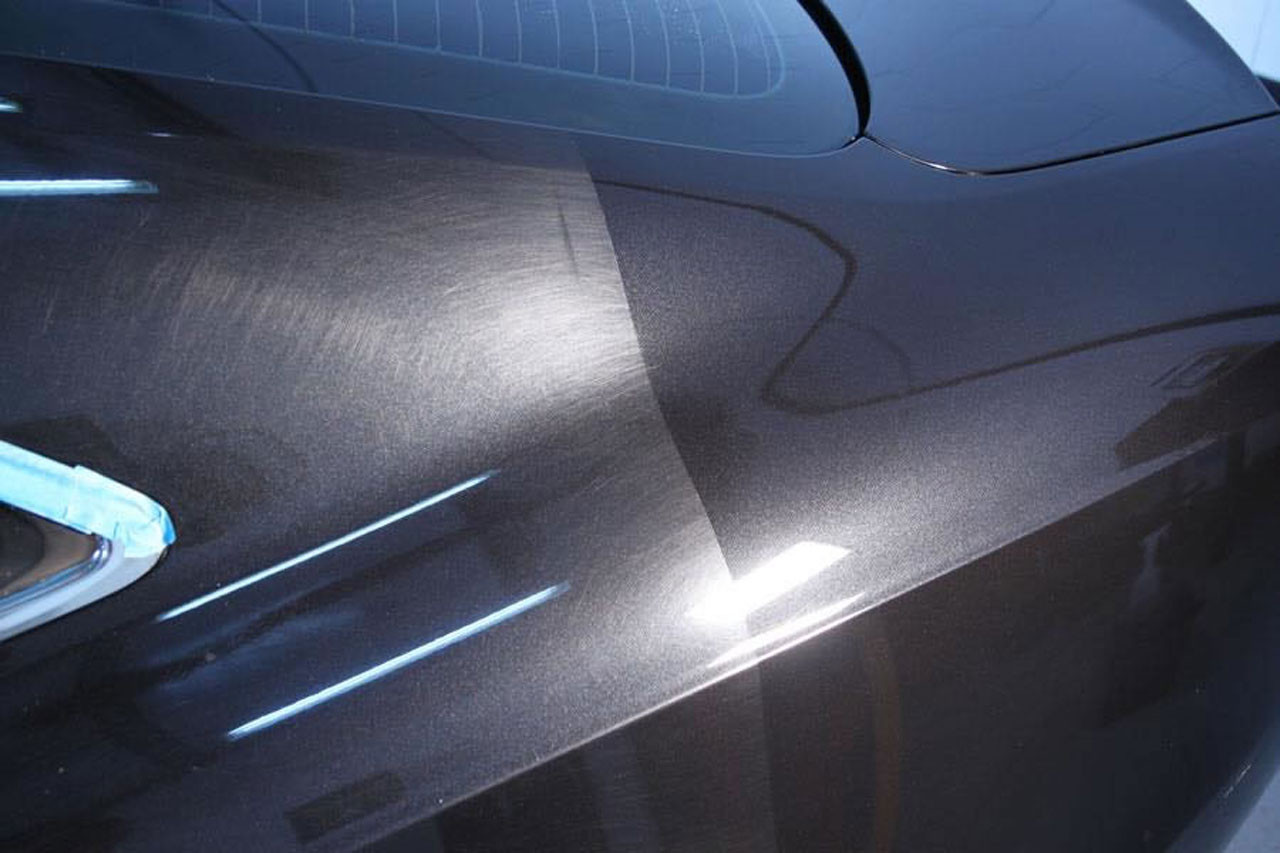
4. Step-by-Step Guide: Repairing Clear Coat Scratches
Clear coat scratches are the easiest to fix and often require minimal effort. Here’s a step-by-step guide to repairing them:
4.1. Cleaning the Area
- Wash the Car: Use car wash soap and water to thoroughly clean the area around the scratch.
- Dry the Area: Use a clean microfiber cloth to dry the area completely.
- Decontaminate: Use detailing clay to remove any remaining contaminants from the paint surface.
4.2. Applying Polishing Compound
- Apply Compound: Put a small amount of polishing compound on a clean buffing pad.
- Polish the Scratch: Use a dual-action polisher or a microfiber cloth to gently polish the scratch in a circular motion. Apply light to medium pressure.
- Buff the Area: Use a clean microfiber cloth to buff the area and remove any residue from the polishing compound.
4.3. Inspecting the Results
- Check the Scratch: Inspect the scratch to see if it has been removed or reduced.
- Repeat if Necessary: If the scratch is still visible, repeat the polishing and buffing process.
4.4. Applying Wax or Sealant
- Apply Wax: Apply a coat of wax or sealant to protect the repaired area and enhance the shine.
- Buff the Wax: Use a clean microfiber cloth to buff the wax and reveal a smooth, glossy finish.
By following these steps, you can effectively remove clear coat scratches and restore your car’s appearance. Next, we’ll look at repairing paint scratches.
5. Tackling Paint Scratches: A Detailed Approach
Paint scratches are deeper than clear coat scratches and require a more detailed approach. Here’s how to repair them:
5.1. Preparing the Area
- Clean the Area: Wash the area around the scratch with car wash soap and water.
- Dry the Area: Dry the area thoroughly with a clean microfiber cloth.
- Decontaminate: Use detailing clay to remove any contaminants from the paint surface.
5.2. Wet Sanding (If Necessary)
- Wet Sand: If the scratch has rough edges, use fine-grit sandpaper (3000-5000 grit) to gently wet sand the area. Keep the sandpaper and the surface wet to avoid scratching.
- Smooth the Surface: Sand until the edges of the scratch are smooth and even with the surrounding paint.
- Clean Again: Clean the area again to remove any sanding residue.
5.3. Applying Touch-Up Paint
- Apply Primer (If Necessary): If the scratch is deep and exposes the metal, apply a thin layer of automotive primer to prevent rust.
- Apply Touch-Up Paint: Use a fine-tip applicator brush to carefully apply touch-up paint to the scratch. Apply thin layers, allowing each layer to dry before applying the next.
- Build Up Layers: Continue applying thin layers until the paint is level with the surrounding surface.
5.4. Blending and Polishing
- Wet Sand (If Necessary): Once the touch-up paint is completely dry, use fine-grit sandpaper to gently wet sand the area to blend the new paint with the old paint.
- Polish the Area: Use a polishing compound and a buffing pad to polish the area and restore the shine.
- Buff the Area: Use a clean microfiber cloth to buff the area and remove any residue from the polishing compound.
5.5. Applying Clear Coat
- Apply Clear Coat: Apply a thin layer of clear coat over the repaired area to protect the paint and blend it with the surrounding surface.
- Let it Dry: Allow the clear coat to dry completely.
5.6. Final Touches
- Inspect the Repair: Inspect the repaired area to ensure the scratch is no longer visible and the finish is smooth.
- Apply Wax: Apply a coat of wax or sealant to protect the repaired area and enhance the shine.
By following these steps, you can effectively repair paint scratches and restore your car’s appearance. Next, we’ll tackle the most challenging type of scratch: deep scratches.
car scratch
6. Addressing Deep Scratches: A Professional Approach
Deep scratches are the most challenging to repair and often require professional assistance. However, if you’re determined to DIY, here’s how to approach them:
6.1. Preparing the Area
- Clean the Area: Wash the area around the scratch with car wash soap and water.
- Dry the Area: Dry the area thoroughly with a clean microfiber cloth.
- Remove Rust (If Present): Use a rust remover or a wire brush to remove any rust from the scratch.
6.2. Applying Primer
- Apply Primer: Apply a thin layer of automotive primer to the scratch to protect the metal and provide a base for the paint.
- Let it Dry: Allow the primer to dry completely.
6.3. Applying Touch-Up Paint
- Apply Touch-Up Paint: Use a fine-tip applicator brush to carefully apply touch-up paint to the scratch. Apply thin layers, allowing each layer to dry before applying the next.
- Build Up Layers: Continue applying thin layers until the paint is level with the surrounding surface.
6.4. Blending and Polishing
- Wet Sand: Once the touch-up paint is completely dry, use fine-grit sandpaper to gently wet sand the area to blend the new paint with the old paint.
- Polish the Area: Use a polishing compound and a buffing pad to polish the area and restore the shine.
- Buff the Area: Use a clean microfiber cloth to buff the area and remove any residue from the polishing compound.
6.5. Applying Clear Coat
- Apply Clear Coat: Apply a thin layer of clear coat over the repaired area to protect the paint and blend it with the surrounding surface.
- Let it Dry: Allow the clear coat to dry completely.
6.6. Final Touches
- Inspect the Repair: Inspect the repaired area to ensure the scratch is no longer visible and the finish is smooth.
- Apply Wax: Apply a coat of wax or sealant to protect the repaired area and enhance the shine.
6.7. When to Seek Professional Help
- Extensive Damage: If the scratch is very large or covers a significant area, professional repair is recommended.
- Rust Issues: If there is significant rust, professional rust removal and repair are necessary.
- Lack of Experience: If you’re not confident in your ability to repair the scratch, it’s best to seek professional help to avoid further damage.
Deep scratches require patience and attention to detail. If you’re unsure about any step, it’s always best to consult with a professional to ensure a proper repair.
7. Alternative Solutions: Scratch Repair Pens and Kits
For those looking for a quick and easy solution, scratch repair pens and kits can be a convenient option. However, it’s important to understand their limitations.
7.1. Scratch Repair Pens
Scratch repair pens are designed to fill in minor scratches and chips. They usually consist of a clear coat and the color of the car’s paint.
- Pros:
- Easy to use.
- Affordable.
- Good for small scratches and chips.
- Cons:
- May not match the exact color of your car’s paint.
- Not effective for deep scratches.
- Results may vary depending on the quality of the pen.
7.2. Scratch Repair Kits
Scratch repair kits typically include a polishing compound, touch-up paint, and clear coat. They provide a more comprehensive solution than scratch repair pens.
- Pros:
- More effective than scratch repair pens.
- Can address a wider range of scratches.
- Includes all the necessary materials for repair.
- Cons:
- Requires more time and effort than scratch repair pens.
- May still not provide a perfect match to your car’s paint.
7.3. How to Use Scratch Repair Pens and Kits
- Clean the Area: Clean the area around the scratch with car wash soap and water.
- Apply the Product: Follow the instructions on the pen or kit to apply the product to the scratch.
- Let it Dry: Allow the product to dry completely.
- Polish the Area: Use a polishing compound and a microfiber cloth to polish the area and blend the repair with the surrounding paint.
Scratch repair pens and kits can be a good option for minor scratches, but they may not provide the same level of results as a professional repair.
8. Cost Considerations: DIY vs. Professional Repair
One of the biggest factors in deciding whether to DIY or seek professional help is the cost. Here’s a breakdown of the cost considerations for both options:
8.1. DIY Repair Costs
- Materials: $20 – $100 (depending on the tools and materials needed)
- Time: 1-3 hours (depending on the severity of the scratch and your experience)
8.2. Professional Repair Costs
- Minor Scratches: $50 – $200 per scratch
- Deep Scratches: $200 – $500 or more per scratch
- Time: 1-2 days (depending on the shop and the severity of the damage)
8.3. Factors Affecting Professional Repair Costs
- Severity of the Scratch: Deeper scratches require more extensive repair work and will cost more.
- Location of the Scratch: Scratches in hard-to-reach areas may require more labor and cost more.
- Type of Paint: Special paint finishes, such as metallic or pearl, may require more expensive materials and techniques.
- Shop Rates: Labor rates vary depending on the shop and its location.
8.4. Cost-Benefit Analysis
- DIY: Cost-effective for minor scratches and those comfortable with car repair.
- Professional: Worth the investment for deep scratches, extensive damage, or those seeking a flawless finish.
9. Maintaining Your Car’s Paint: Prevention is Key
Preventing scratches is always better than having to repair them. Here are some tips for maintaining your car’s paint and preventing scratches:
9.1. Regular Washing
Wash your car regularly to remove dirt, grime, and other contaminants that can scratch the paint.
9.2. Waxing and Sealing
Apply a coat of wax or sealant every few months to protect the paint and provide a barrier against scratches.
9.3. Avoid Automatic Car Washes
Automatic car washes can use harsh brushes that can scratch the paint. Opt for touchless car washes or hand washing.
9.4. Park Carefully
Park in areas where there is less risk of scratches from other cars, shopping carts, or other objects.
9.5. Use Car Covers
Use a car cover when parking your car outside to protect it from scratches, sun damage, and other environmental factors.
9.6. Promptly Repair Minor Damage
Address minor scratches and chips promptly to prevent them from worsening and causing further damage.
10. Insurance Coverage: When Does It Apply?
Car insurance typically does not cover the removal of minor car scratches or cosmetic damage. Insurance is primarily designed to address significant damage from accidents, theft, or other covered incidents.
10.1. When Insurance May Cover Scratches
- Accidents: If the scratches are the result of a collision, your insurance may cover the repair costs.
- Vandalism: If the scratches are the result of vandalism, your comprehensive coverage may cover the repair costs.
- Natural Disasters: If the scratches are the result of a natural disaster, such as a hailstorm, your comprehensive coverage may cover the repair costs.
10.2. Deductibles and Premiums
Keep in mind that you will likely have to pay a deductible before your insurance coverage kicks in. Also, filing a claim may increase your insurance premiums.
10.3. Consulting Your Insurance Provider
It’s always a good idea to consult your insurance policy and discuss coverage options with your provider to confirm if any exceptions or optional add-ons apply. However, for lighter scratches, using DIY methods or seeking professional repairs may be more cost-effective than involving your insurance.
11. CARDIAGTECH.NET: Your Partner in Car Care
At CARDIAGTECH.NET, we understand the importance of maintaining your vehicle’s appearance and protecting it from damage. That’s why we offer a wide range of high-quality tools and equipment to help you tackle car scratch repairs with confidence.
11.1. Our Products
- Polishing Compounds: Premium polishing compounds to remove clear coat scratches and restore shine.
- Touch-Up Paints: High-quality touch-up paints that match your car’s color code for seamless repairs.
- Clear Coats: Durable clear coats to protect the repaired area and blend it with the surrounding paint.
- Sandpaper: Fine-grit sandpaper for wet sanding to smooth out imperfections.
- Buffing Pads: Foam pads for applying and buffing polishing compounds.
- Dual-Action Polishers: Efficient and easy-to-use polishers for professional-looking results.
- Detailing Clay: To remove contaminants from the paint surface.
- Microfiber Cloths: Soft cloths to avoid further scratching during cleaning and polishing.
11.2. Why Choose CARDIAGTECH.NET?
- High-Quality Products: We offer only the highest quality tools and materials for car repair.
- Wide Selection: We have a wide selection of products to meet all your car care needs.
- Expert Advice: Our team of experts can provide advice and guidance on the best tools and techniques for your specific repair needs.
- Competitive Prices: We offer competitive prices on all our products.
- Excellent Customer Service: We are committed to providing excellent customer service and ensuring your satisfaction.
Don’t let car scratches detract from your vehicle’s appearance. With the right tools and techniques, you can restore your car’s finish and protect it from further damage. Visit CARDIAGTECH.NET today and discover the tools you need to keep your car looking its best.
12. Real-World Examples: DIY Success Stories
Hearing about others who have successfully tackled car scratch repairs can be inspiring. Here are a few real-world examples:
12.1. The Case of the Keyed Car
John, a car enthusiast from California, found his car keyed one morning. Instead of immediately taking it to a body shop, he decided to try a DIY repair.
- Damage: A long, noticeable scratch along the driver’s side door.
- Tools Used: Touch-up paint matching his car’s color code, fine-grit sandpaper, polishing compound, and clear coat. All sourced from CARDIAGTECH.NET.
- Process: John carefully cleaned the area, applied several thin layers of touch-up paint, wet sanded the area smooth, polished it, and finished with a clear coat.
- Result: The scratch was virtually invisible, and John saved hundreds of dollars.
12.2. The Parking Lot Scuff
Maria, a busy professional from Texas, accidentally scraped her bumper while parking. The scuff was small but unsightly.
- Damage: A minor scuff on the rear bumper.
- Tools Used: Scratch repair kit with polishing compound and a scratch repair pen.
- Process: Maria cleaned the area, applied the polishing compound, used the scratch repair pen to fill in the scuff, and polished the area again.
- Result: The scuff was significantly reduced, and Maria was pleased with the quick and easy fix.
12.3. The Branch Incident
David, an outdoorsman from Florida, scratched his truck while driving through a wooded area.
- Damage: Multiple clear coat scratches from tree branches.
- Tools Used: Polishing compound, buffing pads, and a dual-action polisher from CARDIAGTECH.NET.
- Process: David washed the truck, applied the polishing compound to the buffing pads, and used the dual-action polisher to remove the scratches.
- Result: The scratches were removed, and the truck’s paint looked as good as new.
These stories illustrate that with the right tools and techniques, DIY car scratch repair is achievable.
13. Debunking Myths: Common Misconceptions About Car Scratch Repair
There are several common misconceptions about car scratch repair. Let’s debunk a few of them:
13.1. Myth: Toothpaste Can Remove Scratches
- Fact: While toothpaste can sometimes reduce the appearance of very fine clear coat scratches, it is not a long-term solution and can actually damage the paint.
13.2. Myth: WD-40 Removes Scratches
- Fact: WD-40 can temporarily hide scratches by filling them in, but it does not repair the damage and will wash away over time.
13.3. Myth: All Scratches Require Professional Repair
- Fact: Many minor scratches can be easily repaired with DIY methods and the right tools.
13.4. Myth: Touch-Up Paint is a Perfect Match
- Fact: While touch-up paint is designed to match your car’s color code, there may be slight variations due to fading and other factors.
13.5. Myth: You Can’t Repair Deep Scratches Yourself
- Fact: While deep scratches are more challenging, they can be repaired with DIY methods, although professional repair is often recommended.
14. Call to Action: Get Your Car Scratch Repair Tools Today
Ready to tackle those unsightly car scratches and restore your vehicle’s appearance? CARDIAGTECH.NET has everything you need to get started.
- Visit Our Website: Browse our wide selection of high-quality tools and equipment for car scratch repair at CARDIAGTECH.NET.
- Contact Us: Have questions or need advice? Contact our team of experts for personalized assistance.
- Address: 276 Reock St, City of Orange, NJ 07050, United States
- WhatsApp: +1 (641) 206-8880
- Website: CARDIAGTECH.NET
- Get Started Today: Don’t let car scratches detract from your vehicle’s appearance any longer. Invest in the right tools and techniques and restore your car’s finish today.
CARDIAGTECH.NET is your trusted partner in car care. Let us help you keep your car looking its best.
15. Frequently Asked Questions (FAQs)
1. Can I use any type of sandpaper for wet sanding?
No, you should only use fine-grit sandpaper (3000-5000 grit) specifically designed for wet sanding. Using coarser sandpaper can damage the paint.
2. How do I find my car’s paint color code?
Your car’s paint color code can usually be found on a sticker located on the driver’s side doorjamb, in the glove compartment, or under the hood.
3. How many layers of touch-up paint should I apply?
You should apply thin layers of touch-up paint, allowing each layer to dry before applying the next. Continue applying layers until the paint is level with the surrounding surface.
4. Can I use a hair dryer to speed up the drying process?
Yes, you can use a hair dryer on a low setting to speed up the drying process, but be careful not to overheat the paint.
5. How often should I wax my car?
You should wax your car every few months to protect the paint and provide a barrier against scratches.
6. What is the difference between polishing compound and rubbing compound?
Polishing compound is designed to remove fine scratches and restore shine, while rubbing compound is more abrasive and designed to remove heavier scratches and imperfections.
7. Can I use a scratch repair pen on any type of scratch?
Scratch repair pens are best suited for minor scratches and chips. They may not be effective for deep scratches.
8. How do I prevent rust from forming in a deep scratch?
You should apply a layer of automotive primer to the scratch to protect the metal and prevent rust from forming.
9. Is it better to hand wash my car or use an automatic car wash?
Hand washing is generally better for your car’s paint, as automatic car washes can use harsh brushes that can scratch the paint.
10. What should I do if I’m not happy with the results of my DIY repair?
If you’re not happy with the results of your DIY repair, you should consult with a professional to ensure a proper repair.