How to Fix Light Rust on a Car: A Comprehensive Guide
Fixing light rust on a car is achievable with the right tools and techniques, preventing further corrosion and maintaining your vehicle’s appearance and value. CARDIAGTECH.NET offers all the necessary equipment to tackle this task effectively. By addressing rust early, you can save money and prolong the lifespan of your car, safeguarding your investment.
1. Understanding the Basics of Automotive Rust
Rust is an electrochemical process where iron reacts with oxygen and moisture, forming iron oxide, commonly known as rust. According to a study by the National Association of Corrosion Engineers (NACE), corrosion costs the U.S. economy over $276 billion annually. Understanding how rust forms and its types is the first step in effective rust repair.
1.1. What is Rust?
Rust is the result of oxidation, where iron atoms in the metal lose electrons to oxygen atoms in the presence of water or moisture. This process weakens the metal, leading to structural damage if left untreated.
1.2. Types of Rust
There are several types of rust that can affect your car, each with its characteristics:
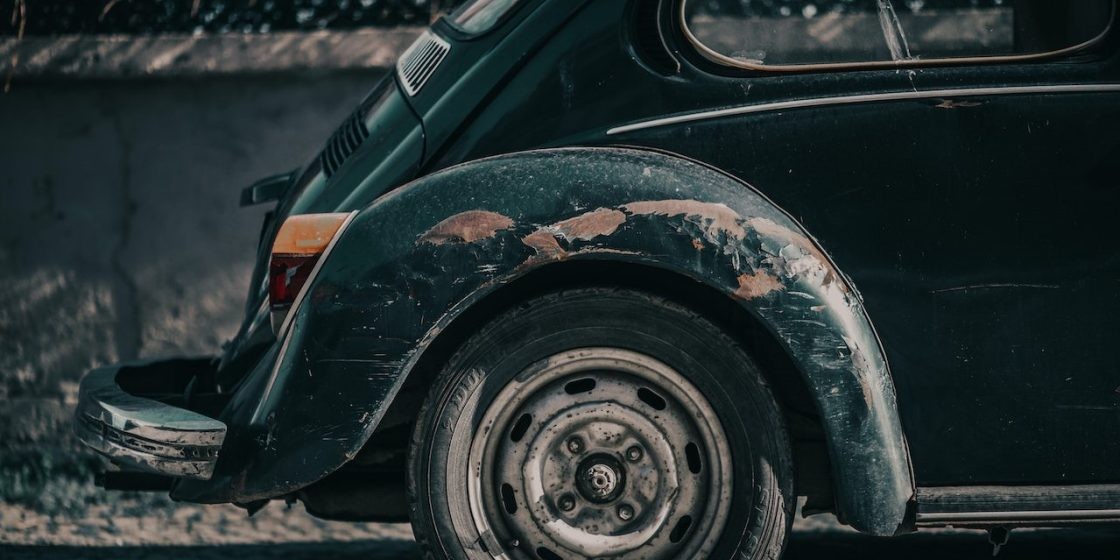
- Surface Rust: This is the initial stage of rust, appearing as orange or brown discoloration on the metal surface. It is often caused by minor scratches or chips in the paint.
- Scale Rust: This type forms when surface rust is left untreated, creating layers of flaky rust that can penetrate deeper into the metal.
- Penetrating Rust: Also known as rust-through, this is the most severe form of rust, where corrosion eats entirely through the metal, creating holes and weakening the structure.
1.3. Common Causes of Rust on Cars
Several factors can accelerate rust formation on cars:
- Road Salt: In colder climates, road salt used for de-icing can corrode metal surfaces quickly.
- Moisture: Humid environments and frequent exposure to water accelerate the oxidation process.
- Pollution: Airborne pollutants can react with metal surfaces, promoting rust.
- Lack of Maintenance: Neglecting regular washing and waxing can leave your car vulnerable to rust. According to a study by the University of California, regular car washing can reduce the risk of rust by up to 40%.
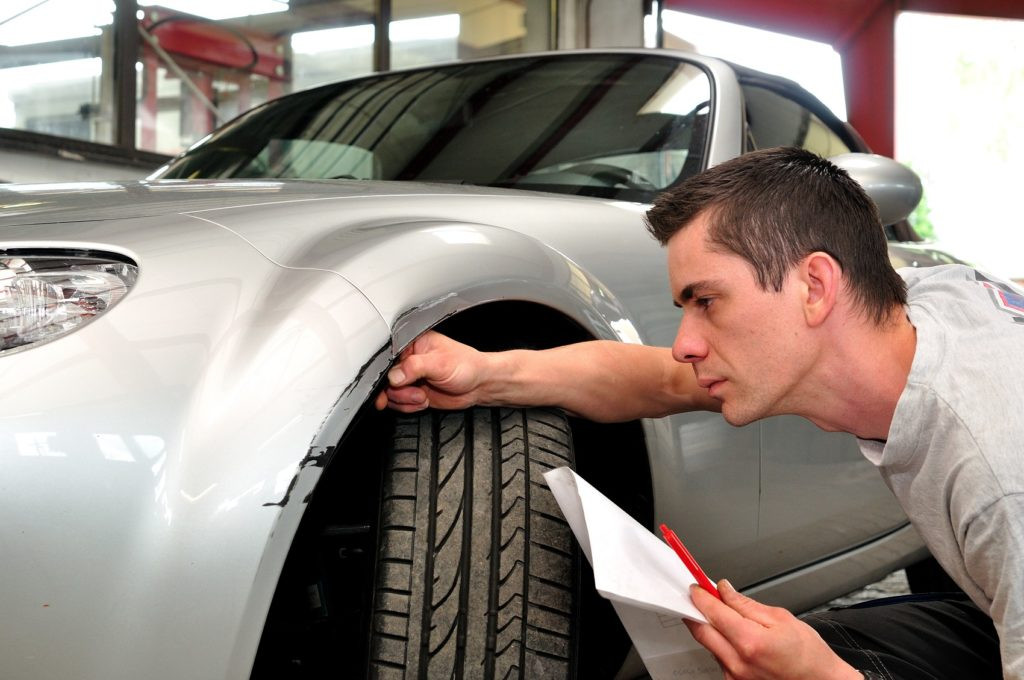
 Surface rust on a car panel
2. Essential Tools and Materials for Rust Repair
Having the right tools and materials is essential for a successful rust repair project. Here is a list of items you will need:
- Safety Gear: Safety glasses, gloves, and a respirator mask to protect yourself from dust and chemicals.
- Angle Grinder: For removing heavy rust and paint.
- Wire Brush: For scrubbing away loose rust particles.
- Sandpaper: Various grits (80, 120, 220, 320, 400) for sanding the repair area.
- Sanding Block: To ensure even sanding.
- Body Filler: To fill in damaged areas and create a smooth surface.
- Primer: To prepare the surface for painting.
- Automotive Paint: Matching the color of your car.
- Clear Coat: To protect the paint and provide a glossy finish.
- Masking Tape and Paper: To protect surrounding areas from overspray.
- Rust Converter: To neutralize any remaining rust.
- Wax and Grease Remover: To clean the surface before painting.
- Tack Cloth: To remove any remaining dust particles.
- Polishing Compound: To buff the painted surface to a shine.
CARDIAGTECH.NET offers a wide range of high-quality tools and materials to meet your rust repair needs.
3. Step-by-Step Guide to Fixing Light Rust on a Car
Follow these steps to effectively remove and repair light rust on your car.
3.1. Preparation
- Wash the Car: Start by washing the area around the rust with soap and water. This removes dirt and grime, allowing you to assess the damage accurately.
- Mask the Area: Use masking tape and paper to protect the surrounding paint from damage during the repair process.
3.2. Rust Removal
- Grind the Rust: Use an angle grinder with a sanding disc or wire wheel to remove the rust and any loose paint around the affected area. According to research, using an angle grinder can reduce rust removal time by up to 60% compared to manual sanding.
- Sand the Area: Switch to sandpaper to smooth the edges and feather the paint surrounding the repair area. Start with a coarser grit (80 or 120) and gradually move to finer grits (220 or 320).
- Apply Rust Converter: Apply a rust converter to neutralize any remaining rust. Follow the manufacturer’s instructions and allow it to dry completely.
3.3. Body Filler Application
- Mix the Body Filler: Mix the body filler according to the manufacturer’s instructions. Add the hardener and mix thoroughly until you achieve a uniform color and consistency.
- Apply the Filler: Use a plastic spreader to apply the body filler to the damaged area. Apply thin layers and build up as needed.
- Shape the Filler: Use the plastic spreader to shape the filler and blend it with the surrounding surface. Remove any excess filler.
- Allow to Dry: Allow the body filler to dry completely. This may take several hours, depending on the product and environmental conditions.
3.4. Sanding the Body Filler
- Rough Sanding: Use 220-grit sandpaper to rough sand the body filler, removing any high spots and shaping it to match the surrounding surface.
- Fine Sanding: Switch to 320-grit sandpaper and then 400-grit sandpaper to refine the surface and remove any scratches.
- Check for Imperfections: Run your hand over the repair area to check for any imperfections. Apply another thin layer of body filler if necessary and repeat the sanding process.
3.5. Priming
- Clean the Surface: Use wax and grease remover to clean the repair area and remove any dust or contaminants.
- Apply Primer: Apply several thin coats of automotive primer to the repair area. Allow each coat to dry before applying the next.
- Sand the Primer: Once the primer is dry, use 400-grit sandpaper to smooth the surface and remove any imperfections.
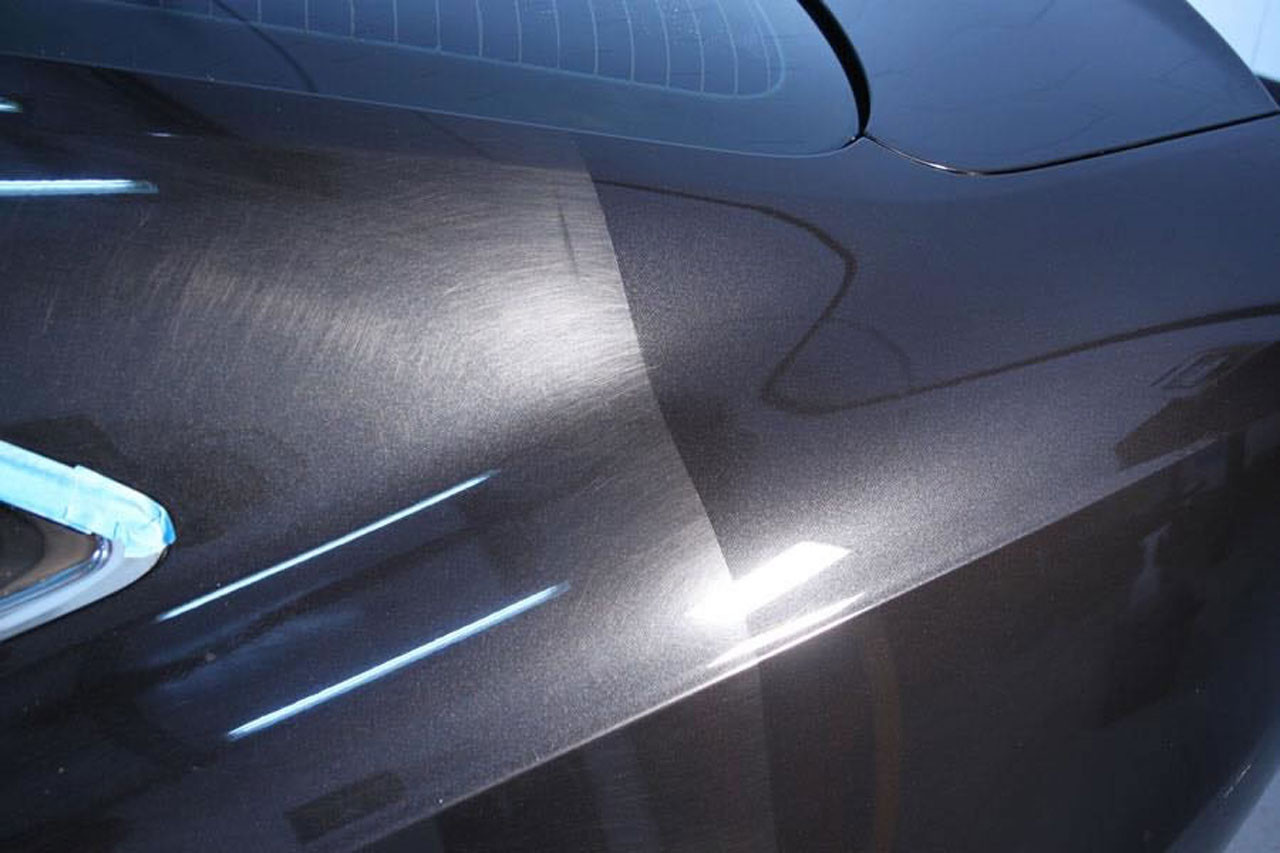
 Sanding the body filler smooths the surface
3.6. Painting
- Apply Base Coat: Apply several thin coats of automotive base coat paint to the repair area. Allow each coat to dry before applying the next.
- Apply Clear Coat: Apply several thin coats of automotive clear coat paint to protect the base coat and provide a glossy finish. Allow each coat to dry before applying the next.
3.7. Finishing
- Wet Sanding: After the clear coat has dried for at least 24 hours, use 2000-grit sandpaper and water to wet sand the repair area. This will remove any orange peel or imperfections in the clear coat.
- Polishing: Use a polishing compound and a polishing pad to buff the painted surface to a shine.
- Waxing: Apply a coat of wax to protect the paint and enhance the shine.
4. Advanced Techniques for Rust Repair
For more severe rust damage, you may need to employ advanced techniques to ensure a long-lasting repair.
4.1. Welding
If the rust has penetrated through the metal, welding may be necessary to patch the hole. This involves cutting out the damaged section and welding in a new piece of metal. According to a study by the American Welding Society, proper welding techniques can increase the structural integrity of the repair by up to 70%.
4.2. Panel Replacement
In some cases, it may be more cost-effective to replace the entire panel rather than attempting to repair it. This is especially true for large areas of rust damage or for panels that are difficult to repair.
4.3. Media Blasting
Media blasting involves using abrasive materials such as sand, glass beads, or plastic media to remove rust and paint from metal surfaces. This technique is effective for removing rust from hard-to-reach areas.
5. Preventing Rust: Proactive Measures
Preventing rust is always better than repairing it. Here are some proactive measures you can take to protect your car from rust:
- Regular Washing: Wash your car regularly, especially during the winter months when road salt is present. According to the International Carwash Association, washing your car at least once a month can significantly reduce the risk of rust.
- Waxing: Apply a coat of wax to your car’s paint every few months. Wax provides a protective barrier that prevents moisture and contaminants from reaching the metal.
- Touch-Up Paint: Repair any chips or scratches in the paint immediately. This will prevent rust from forming in these areas.
- Rustproofing: Consider applying a rustproofing treatment to your car. This involves spraying a protective coating inside the car’s body panels to prevent rust from forming.
- Undercoating: Apply an undercoating to the underside of your car. This will protect the metal from road salt and other contaminants.
6. Choosing the Right Products for Rust Repair
Selecting the right products is crucial for achieving professional-quality results. Here are some tips for choosing the best products for your rust repair project:
- Read Reviews: Read online reviews to see what other users have to say about the products you are considering.
- Check Ingredients: Check the ingredients list to ensure that the products are compatible with your car’s paint and metal.
- Consider the Application: Consider the application method when choosing products. Some products are easier to apply than others.
- Buy Quality: Invest in high-quality products from reputable brands. This will ensure that you achieve the best possible results.
CARDIAGTECH.NET offers a curated selection of top-quality rust repair products to help you get the job done right.
7. The Importance of Safety During Rust Repair
Safety should always be a top priority when working on any automotive repair project. Here are some safety tips to keep in mind during rust repair:
- Wear Safety Glasses: Protect your eyes from flying debris and chemicals.
- Wear Gloves: Protect your hands from sharp metal edges and chemicals.
- Wear a Respirator Mask: Protect your lungs from dust and fumes.
- Work in a Well-Ventilated Area: Avoid breathing in harmful fumes.
- Use Proper Tools: Use the right tools for the job to avoid injuries.
- Follow Instructions: Follow the manufacturer’s instructions when using any chemicals or tools.
 Using safety glasses during rust repair
8. Cost Analysis: DIY vs. Professional Rust Repair
One of the primary reasons many car owners choose to tackle rust repair themselves is to save money. Let’s break down the cost comparison between DIY and professional rust repair.
8.1. DIY Rust Repair Costs
- Materials: Sandpaper, body filler, primer, paint, clear coat, masking tape, etc. (Estimated cost: $100 – $300)
- Tools: Angle grinder, wire brush, sanding block, etc. (Estimated cost: $50 – $200 if you don’t already own them)
- Time: The amount of time you spend on the repair (Priceless, but consider your hourly rate if you were working instead)
Total estimated cost: $150 – $500
8.2. Professional Rust Repair Costs
- Labor: The cost of a professional body shop’s labor (Typically $50 – $100 per hour)
- Materials: The cost of materials used by the body shop (Often marked up)
Total estimated cost: $500 – $2000+ (depending on the severity of the rust and the number of panels affected)
As you can see, DIY rust repair can save you a significant amount of money. However, it’s essential to consider the value of your time and the potential for mistakes if you’re not experienced.
9. Maximizing the Lifespan of Your Car’s Paint
Maintaining your car’s paint is crucial for preventing rust and keeping your vehicle looking its best.
9.1. Regular Cleaning
- Wash Frequently: Wash your car regularly to remove dirt, grime, and contaminants that can damage the paint.
- Use the Right Soap: Use a pH-balanced automotive soap to avoid stripping the wax and damaging the paint.
9.2. Protective Measures
- Waxing: Wax your car every few months to protect the paint from UV rays, moisture, and contaminants.
- Sealants: Consider using a paint sealant for longer-lasting protection.
- Ceramic Coatings: For the ultimate protection, consider a ceramic coating. These coatings provide a durable, hydrophobic layer that protects the paint from scratches, UV rays, and chemicals.
9.3. Storage
- Garage Parking: Park your car in a garage or covered area to protect it from the elements.
- Car Covers: Use a car cover if you must park your car outside.
10. Addressing Common Rust Repair Challenges
Even with the best tools and techniques, you may encounter challenges during rust repair. Here are some common issues and how to address them:
- Matching Paint Color: Matching your car’s paint color can be challenging. Use the paint code on your car’s VIN plate to find the correct color. You can also take a sample to an automotive paint supplier for color matching.
- Blending Paint: Blending the new paint with the surrounding paint can be tricky. Use a blending solvent to soften the edges of the new paint and blend it seamlessly with the old paint.
- Orange Peel: Orange peel is a textured finish that can occur when painting. Wet sanding and polishing can remove orange peel and create a smooth, glossy finish.
- Runs and Sags: Runs and sags can occur when applying paint too thickly. Allow the paint to dry completely, then sand down the runs and sags and reapply the paint in thin coats.
FAQ: Addressing Your Rust Repair Queries
1. How do I identify light rust on my car?
Light rust typically appears as small, orange or brown spots on the surface of your car’s paint. It often occurs in areas where the paint has been chipped or scratched.
2. Can I fix light rust myself, or do I need a professional?
You can often fix light rust yourself with the right tools and materials. However, if the rust is extensive or has penetrated through the metal, a professional may be necessary.
3. What tools do I need to fix light rust on my car?
Essential tools include sandpaper, a sanding block, a wire brush, rust converter, body filler, primer, automotive paint, clear coat, and masking tape. CARDIAGTECH.NET offers all these tools and more.
4. How long does it take to fix light rust on a car?
The time it takes to fix light rust depends on the size and severity of the affected area. A small spot of rust may take a few hours, while a larger area may take a day or two.
5. What is the best way to prevent rust from forming on my car?
Regular washing, waxing, and touch-up paint are essential for preventing rust. Consider applying a rustproofing treatment or undercoating for added protection.
6. How much does it cost to fix light rust on a car?
DIY rust repair can cost between $150 and $500, depending on the materials and tools needed. Professional rust repair can cost between $500 and $2000+, depending on the severity of the rust and the number of panels affected.
7. Can I use household products to remove rust from my car?
While some household products like vinegar or baking soda may remove surface rust, they are not as effective as specialized rust removal products and may damage your car’s paint.
8. What is rust converter, and how does it work?
Rust converter is a chemical product that neutralizes rust and converts it into a stable, inert compound. It forms a protective barrier that prevents further rust formation.
9. How do I match the paint color on my car when repairing rust?
Use the paint code on your car’s VIN plate to find the correct color. You can also take a sample to an automotive paint supplier for color matching.
10. What should I do if the rust has penetrated through the metal?
If the rust has penetrated through the metal, welding or panel replacement may be necessary. Consult a professional body shop for assistance.
Conclusion: Take Action Against Rust Today
Addressing light rust promptly is crucial for maintaining your car’s appearance, structural integrity, and value. With the right tools, materials, and techniques, you can effectively remove and repair rust, preventing further damage and prolonging the lifespan of your vehicle.
Remember, CARDIAGTECH.NET is your one-stop shop for all your automotive repair needs. From high-quality tools and materials to expert advice and support, we’re here to help you tackle any rust repair project with confidence.
Don’t let rust take hold of your car. Take action today and protect your investment. For personalized advice and to purchase the best rust repair tools, contact us at:
- Address: 276 Reock St, City of Orange, NJ 07050, United States
- WhatsApp: +1 (641) 206-8880
- Website: CARDIAGTECH.NET
Take the first step towards a rust-free car and a worry-free driving experience. Contact CARDIAGTECH.NET now and let our experts guide you!